Setting Up Your AI Development Environment: Tools, APIs, and Best Practices
Series context: This is the prerequisite guide for our upcoming Building AI Agents series starting tomorrow. If you want to code along (and you should!), get your environment ready today.
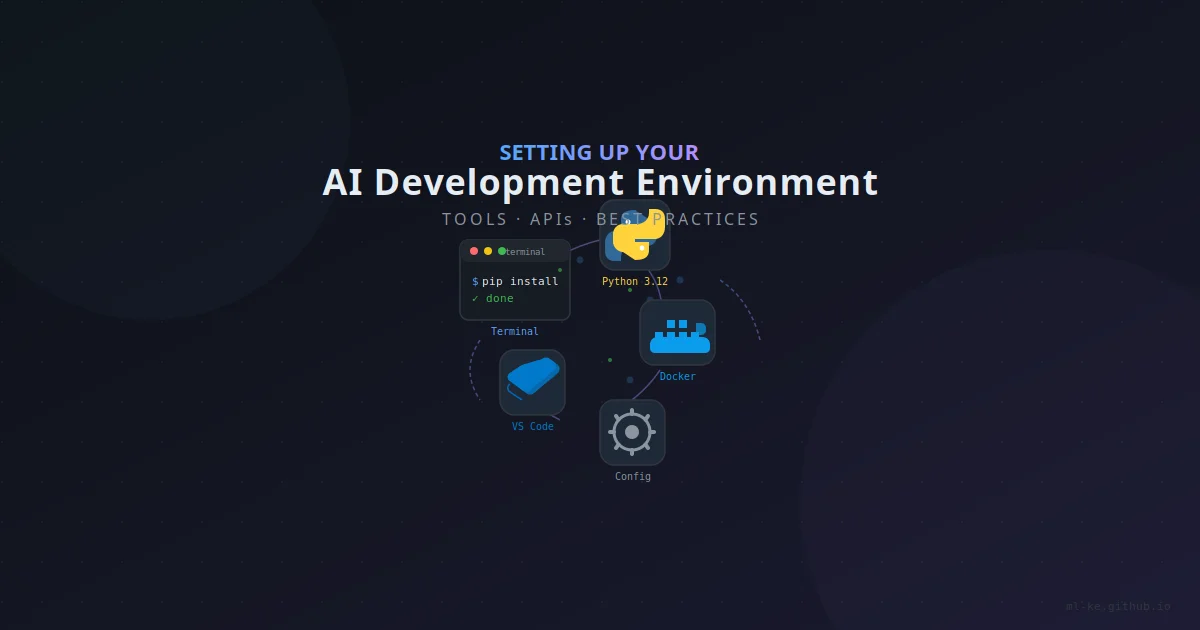
Building AI agents means working with multiple languages, runtimes, API providers, and git workflows — all at once. A clean, reproducible development environment isn’t just nice to have; it’s what separates “it works on my machine” from “it works in production.”
Here’s exactly what you’ll need, step by step.
1. Python Environment Management
Python version conflicts will be your biggest headache. Here’s how to avoid them.
Install pyenv (Python Version Manager)
1
2
3
4
5
6
7
8
9
10
11
12
# Linux / macOS
curl -fsSL https://pyenv.run | bash

# Add to ~/.bashrc (or ~/.zshrc)
echo 'export PYENV_ROOT="$HOME/.pyenv"' >> ~/.bashrc
echo 'export PATH="$PYENV_ROOT/bin:$PATH"' >> ~/.bashrc
echo 'eval "$(pyenv init -)"' >> ~/.bashrc
source ~/.bashrc

# Install Python 3.12 (latest stable for AI work)
pyenv install 3.12.9
pyenv global 3.12.9
Why 3.12? Python 3.12 brings significant performance improvements (up to 30% faster in some benchmarks) and better error messages. Most AI frameworks now support it fully.
Virtual Environments with uv (Rust-based, 10–100x faster)
pip is fine, but uv is dramatically faster and just as compatible:
1
2
3
4
5
6
7
8
9
10
11
# Install uv
curl -LsSf https://astral.sh/uv/install.sh | sh

# Create a project
mkdir my-ai-agent && cd my-ai-agent
uv venv .venv
source .venv/bin/activate

# Install core AI packages
uv pip install openai anthropic langchain requests pydantic
uv pip install jupyter ipykernel  # for notebooks
Always activate your venv before working — your terminal prompt should show (.venv).
2. Docker Setup
Docker lets you package agents with all their dependencies, making deployment reproducible across your laptop, a team server, or cloud VMs.
1
2
3
4
5
6
7
# Ubuntu/Debian
curl -fsSL https://get.docker.com | sudo sh
sudo usermod -aG docker $USER
# Log out and back in, or run: newgrp docker

# Verify
docker run hello-world
Essential Docker Compose
Modern agent stacks often need multiple services (a vector DB, a model inference server, a message queue). Docker Compose handles this:
1
2
sudo apt install docker-compose-plugin
docker compose version
Pro tip: Create a docker-compose.yml in every agent project from day one, even if it only runs one service. You’ll thank yourself later when adding ChromaDB or Redis.
3. API Keys and Environment Management
Every AI agent talks to external APIs. Managing those keys securely is non-negotiable.
Get Your Keys
| Service | Where to get it |
|---|---|
| OpenAI | platform.openai.com/api-keys |
| Anthropic | console.anthropic.com |
| Groq | console.groq.com/keys |
| Hugging Face | huggingface.co/settings/tokens |
Never Hardcode Keys
1
2
3
4
# .env file (ADD TO .gitignore)
OPENAI_API_KEY=sk-...
ANTHROPIC_API_KEY=sk-ant-...
GROQ_API_KEY=gsk_...
Load them in Python:
1
2
3
4
5
from dotenv import load_dotenv
load_dotenv()

import os
client = OpenAI(api_key=os.getenv("OPENAI_API_KEY"))
.gitignore Essentials
.env
.venv/
__pycache__/
*.pyc
.DS_Store
*.egg-info/
dist/
4. Git Workflow for ML Projects
AI projects have special needs — large config files, model weights (that you don’t commit), and experiment tracking.
Branch Strategy
1
2
3
4
5
main          → production-ready, reviewed
├── develop   → integration branch
├── feat/function-calling
├── feat/rag-pipeline
└── fix/rate-limiting
Git LFS for Large Files
1
2
3
4
5
6
sudo apt install git-lfs
git lfs install

# Track model files (but ideally use Hugging Face Hub)
git lfs track "*.pt"
git lfs track "*.bin"
Commit Convention
Use conventional commits for auto-changelogs and clarity:
1
2
3
4
feat: add tool-calling loop with retry logic
fix: handle token limit exceeded gracefully
docs: add API key setup instructions
chore: update dependencies
5. VS Code / IDE Setup for AI Development
Recommended Extensions
| Extension | Purpose |
|---|---|
| Python (ms-python.python) | Core Python support |
| Pylance (ms-python.vscode-pylance) | Fast type checking |
| GitHub Copilot | AI pair programming |
| Docker (ms-azuretools.vscode-docker) | Container management |
| Jupyter (ms-toolsai.jupyter) | Notebooks inside VS Code |
| YAML (redhat.vscode-yaml) | Config file validation |
| GitLens (eamodio.gitlens) | Git blame annotations |
Settings.json Snippets
1
2
3
4
5
6
7
8
9
10
11
12
{
  "python.defaultInterpreterPath": "${workspaceFolder}/.venv/bin/python",
  "python.terminal.activateEnvironment": true,
  "files.exclude": {
    "**/__pycache__": true,
    "**/.venv": false
  },
  "[python]": {
    "editor.formatOnSave": true,
    "editor.defaultFormatter": "ms-python.black-formatter"
  }
}
6. Quick Start: Clone and Run
Let’s make sure everything works with a real test:
1
2
3
4
5
6
7
8
9
10
11
12
13
14
15
# Clone our starter repo
git clone https://github.com/ml-ke/ai-agent-starter
cd ai-agent-starter

# Set up Python
python3 -m venv .venv
source .venv/bin/activate
pip install -r requirements.txt

# Set your API key
cp .env.example .env
# Edit .env with your OpenAI key

# Run the test
python hello_agent.py
You should see output like:
1
2
3
🤖 Agent initialized
🛠️  Available tools: web_search, calculator, file_read
✅ All systems go. Ready to build.
Verify Everything
Run this checklist once you’re done:
| # | Check | Command |
|---|---|---|
| 1 | Python version | python --version → 3.12.x |
| 2 | Virtual env active | echo $VIRTUAL_ENV → path |
| 3 | Docker running | docker ps → no error |
| 4 | API key set | echo $OPENAI_API_KEY → starts with sk- |
| 5 | Git configured | git config --list → name + email |
7. Pro Tips from the Trenches
- Use
pyproject.tomlinstead ofrequirements.txtfor new projects — it handles dependency trees and dev dependencies better. - Pin your dependencies with
pip freeze > requirements.txtbefore shipping. Reproducibility matters. - Set up pre-commit hooks for linting and secrets detection:
pip install pre-commit && pre-commit install. - Use
python-dotenvover sourcing.envdirectly — it’s cross-platform and handles edge cases. - Keep your Docker images lean — start with
python:3.12-slim, notpython:3.12.
Tomorrow: Building AI Agents from Scratch — We’ll write our first agent with function calling, streaming responses, and a clean tool-calling loop. No frameworks. Just Python and the API.
Get your environment ready tonight so you can focus on the code. See you tomorrow.
— The ml-ke.github.io team